An SMTP user is the username and password your mail server, app, or platform uses to authenticate againstDocumentation Index
Fetch the complete documentation index at: https://support.jetemail.com/llms.txt
Use this file to discover all available pages before exploring further.
relay.jetsmtp.net. You can create as many as you need, and each one has its own permission settings, quota, and logs.
Create an SMTP user
- In the dashboard, go to Outbound → SMTP
- Click Create SMTP
- Fill in the details:
- Username: Choose a unique username. Don’t include
@characters. - Password: Set a strong password.
- Quota:
0for unlimited, or a per-user message limit.
- Username: Choose a unique username. Don’t include
- Choose a permission mode (see below).
- Save.

Permission modes
Each SMTP user has its own permission setting that controls which sender domains it’s allowed to send from. There are three modes:| Mode | Sender domains allowed | Plan | Best for |
|---|---|---|---|
| Default (neither toggle on) | Only the specific domains explicitly assigned to this SMTP user in the dashboard | Any plan | Tight control. One app sending from one domain. |
| Allow all domains | Any domain that exists on your account (i.e. any domain you’ve added and verified in Outbound → Domains) | Any plan | Multiple apps sharing one credential, or a reseller with a fixed customer list maintained in the dashboard. |
| Allow any domain | Any domain on the internet, whether or not it exists in your account, as long as the sender domain has SPF published | Pro | Control panels (cPanel, DirectAdmin, Enhance) and platforms hosting many domains where adding each one to the dashboard is impractical. |
Default
Only domains explicitly assigned to the SMTP user are allowed. Anything else returns 550 [ACL]. This is the safest default for a single app sending from a single domain.Allow all domains
Any domain that has been added to your account under Outbound → Domains is allowed. You don’t have to assign domains to the SMTP user one at a time; the user inherits whatever’s on the account. New domains added later automatically work without re-touching the SMTP user. This still rejects domains that aren’t in your account at all.Allow any domain
Any domain works, including ones that aren’t in your account. Receivers will only accept the mail if the sending domain has SPF published withinclude:spf.jetsmtp.net (see SMTP allow any domain), but JetEmail itself will not block based on the sender domain.
This is the mode used by reseller and hosting setups where adding every customer domain to the dashboard isn’t practical. It requires a Pro subscription.
Not the same as whitelabeling. Allow any domain controls what JetEmail accepts. SPF whitelabeling controls what your customers see in DNS. They’re independent settings and most resellers use both.
Quota
Setting Quota to0 means unlimited. Anything else caps how many messages this SMTP user can send before being rate-limited. Use it as a safety net against runaway scripts or compromised credentials, not as a hard plan limit.
IP restrictions
Each SMTP user can be restricted to a list of allowed source IPs. With a restriction set, JetEmail rejects any authentication attempt that doesn’t come from one of the listed sources, even if the username and password are correct. Leaving the list empty allows the user to authenticate from any IP. The allow list accepts:- IPv4 addresses — e.g.
203.0.113.42 - IPv6 addresses — e.g.
2001:db8::1 - IPv4 CIDR ranges — e.g.
203.0.113.0/24 - IPv6 CIDR ranges — e.g.
2001:db8::/64
Dual-stack gotcha. If your server has both IPv4 and IPv6, your mail client might connect over either depending on DNS resolution and local preference. Add both addresses (or both CIDR ranges) so a sudden switch doesn’t lock you out.
Credential hygiene
- One SMTP user per app. Don’t share credentials across apps. When you need to rotate one, you don’t disturb the others, and the dashboard logs make it obvious which app sent what.
- Name users so you can identify them later. Pick a username that tells future-you which app the credential belongs to (
marketing-prod,wordpress-blog,crm-mailer) rather than something opaque likesmtp1. - Rotate periodically. Replace passwords on any cadence that fits your security posture, especially after staff changes or suspected leaks.
- Delete unused users. Revoke credentials for apps you’ve decommissioned. They’re a permanent attack surface otherwise.
Editing and deleting
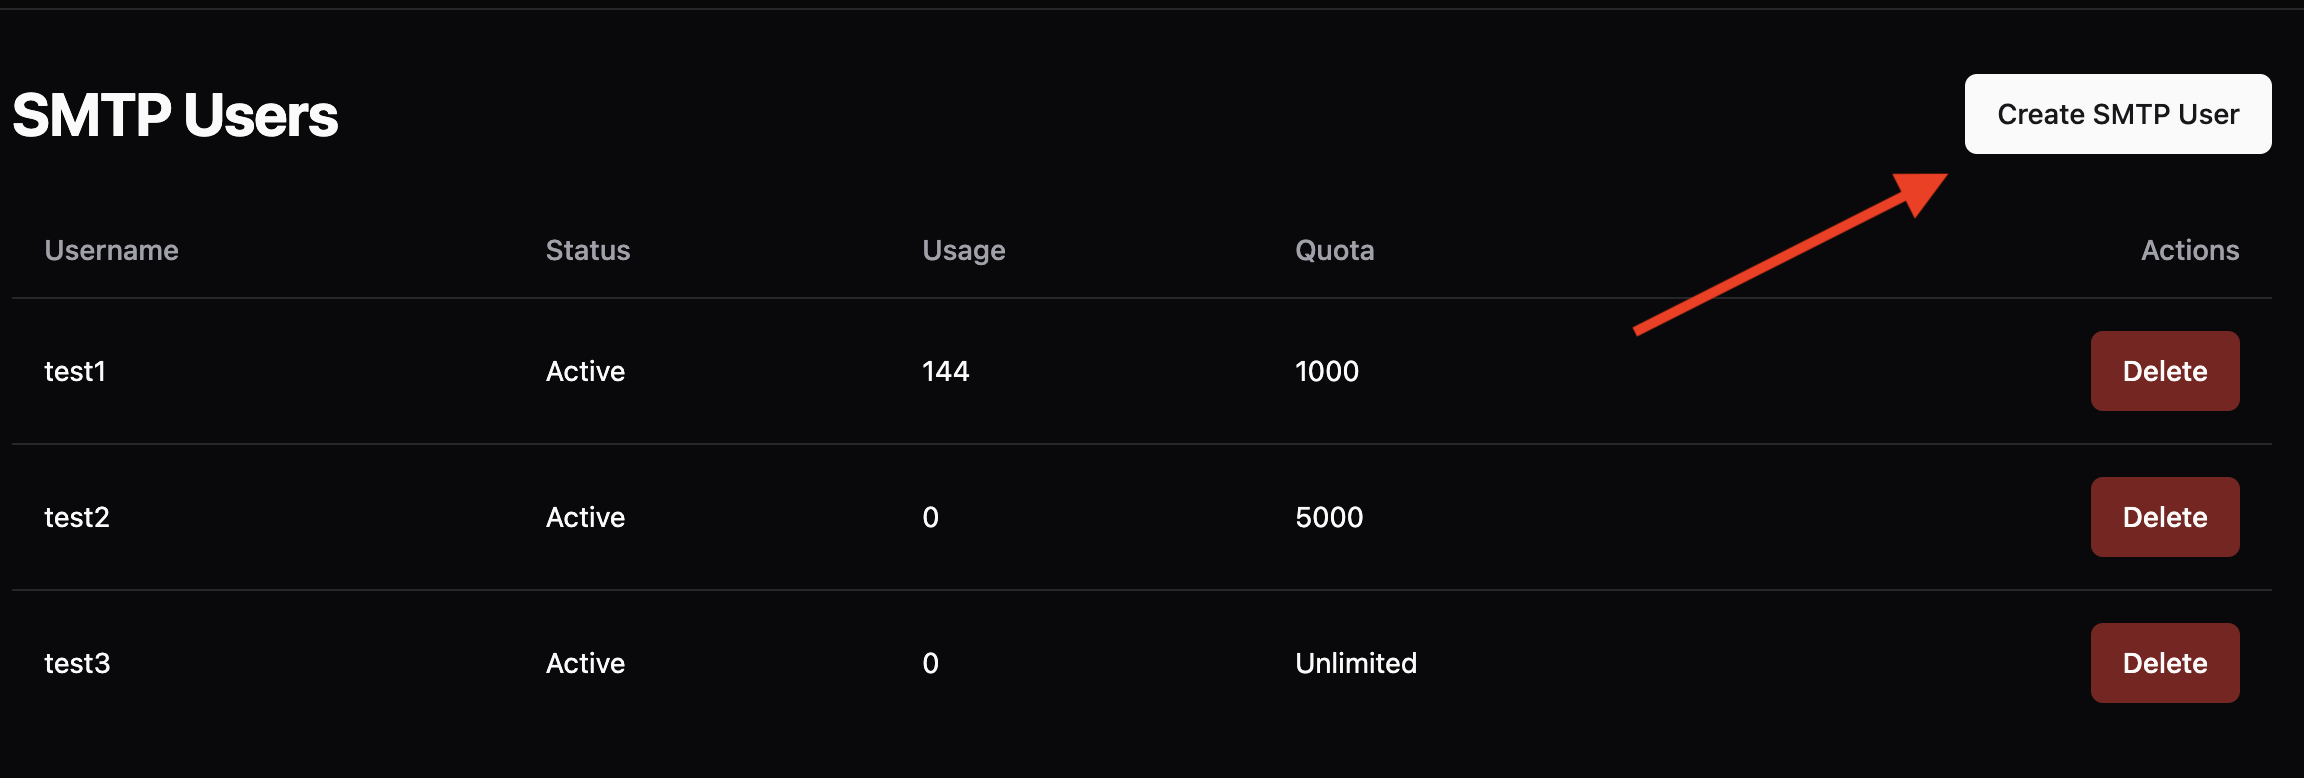
In the dashboard, Outbound → SMTP lists every user. Click into one to edit the password, quota, or permission mode. Deleting a user immediately invalidates the credential; any app still using it will start receiving authentication failures.Common errors
- 550 [ACL] Blocked — the SMTP user isn’t authorized to send from the
Fromdomain. Almost always a permission-mode issue. On Pro plans, check that Allow any domain is on if you expect to send from arbitrary domains. - 535 Authentication failed — the username or password sent to the relay is wrong.
- 535 IP not authorized — the SMTP user has an IP restriction set and you’re connecting from an IP that isn’t on the allow list.