Getting Started with Inbound Email Filtering
To set up your inbound email filter, follow these steps:1. Create Your Domain
- Log in to your account dashboard.
- Navigate to the “Inbound” section.
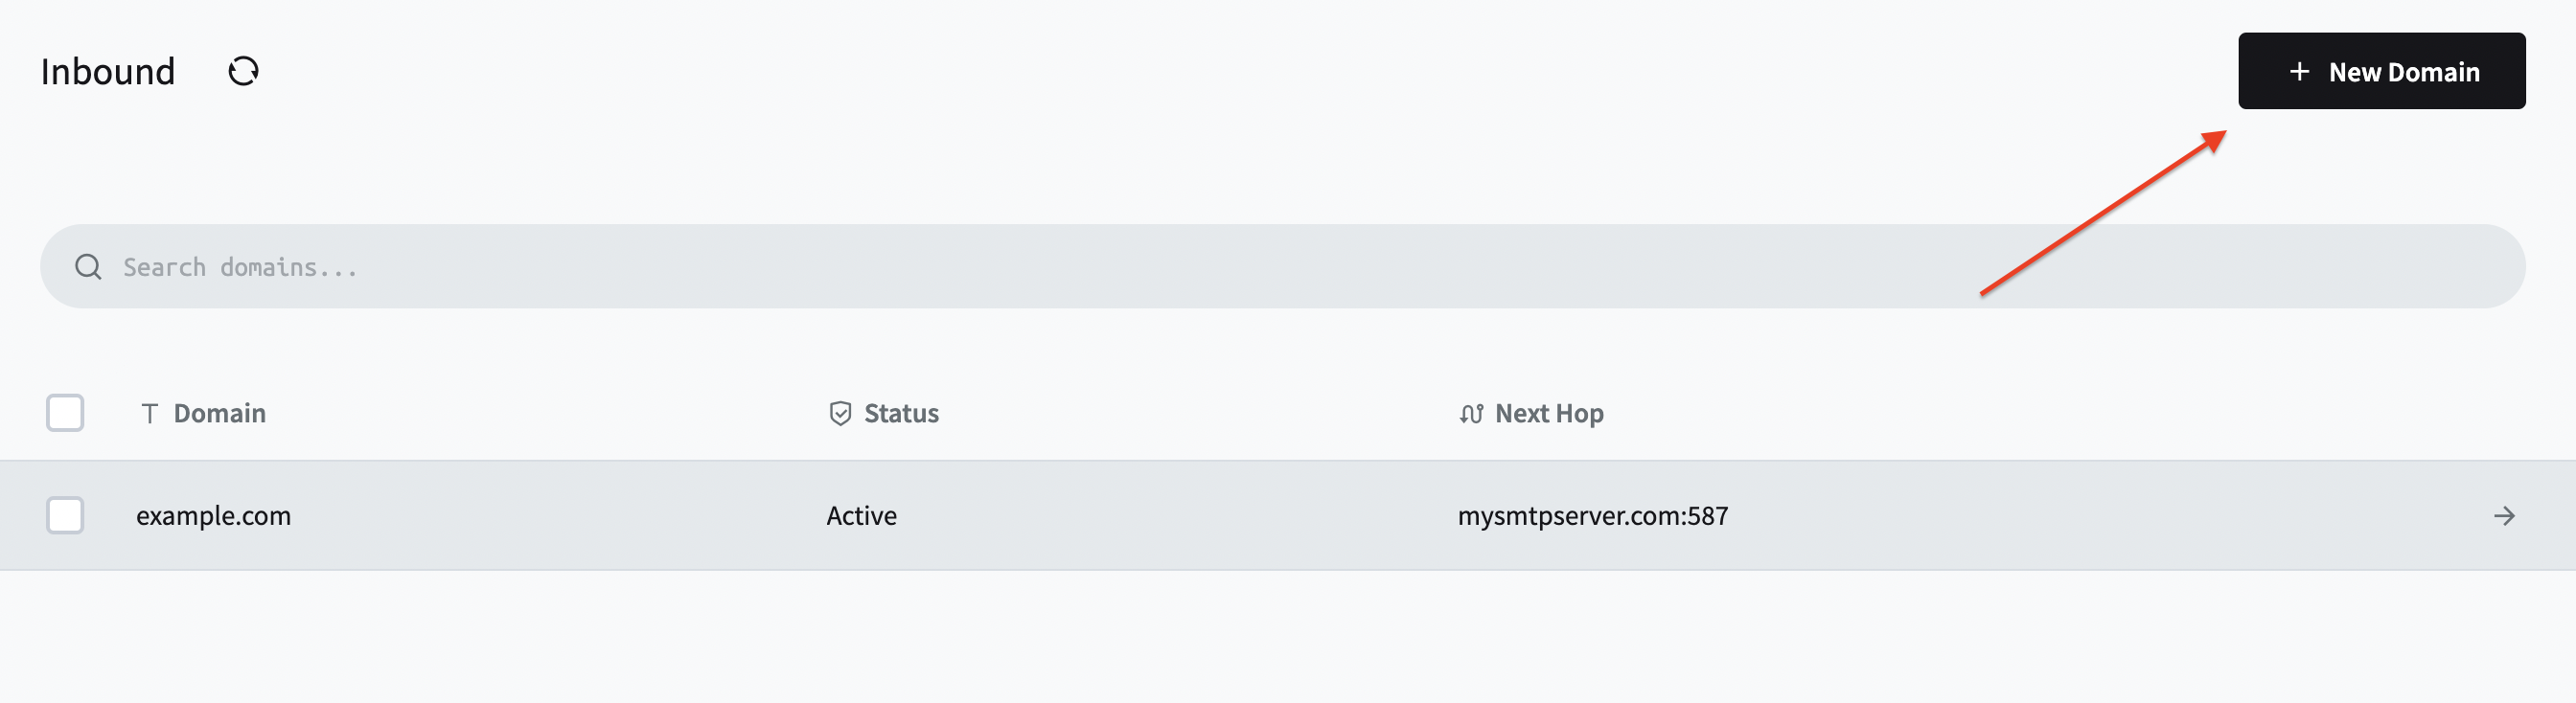
- Click on “Add Domain”.
2. Configure Service
You can configure your inbound service to deliver emails in two ways: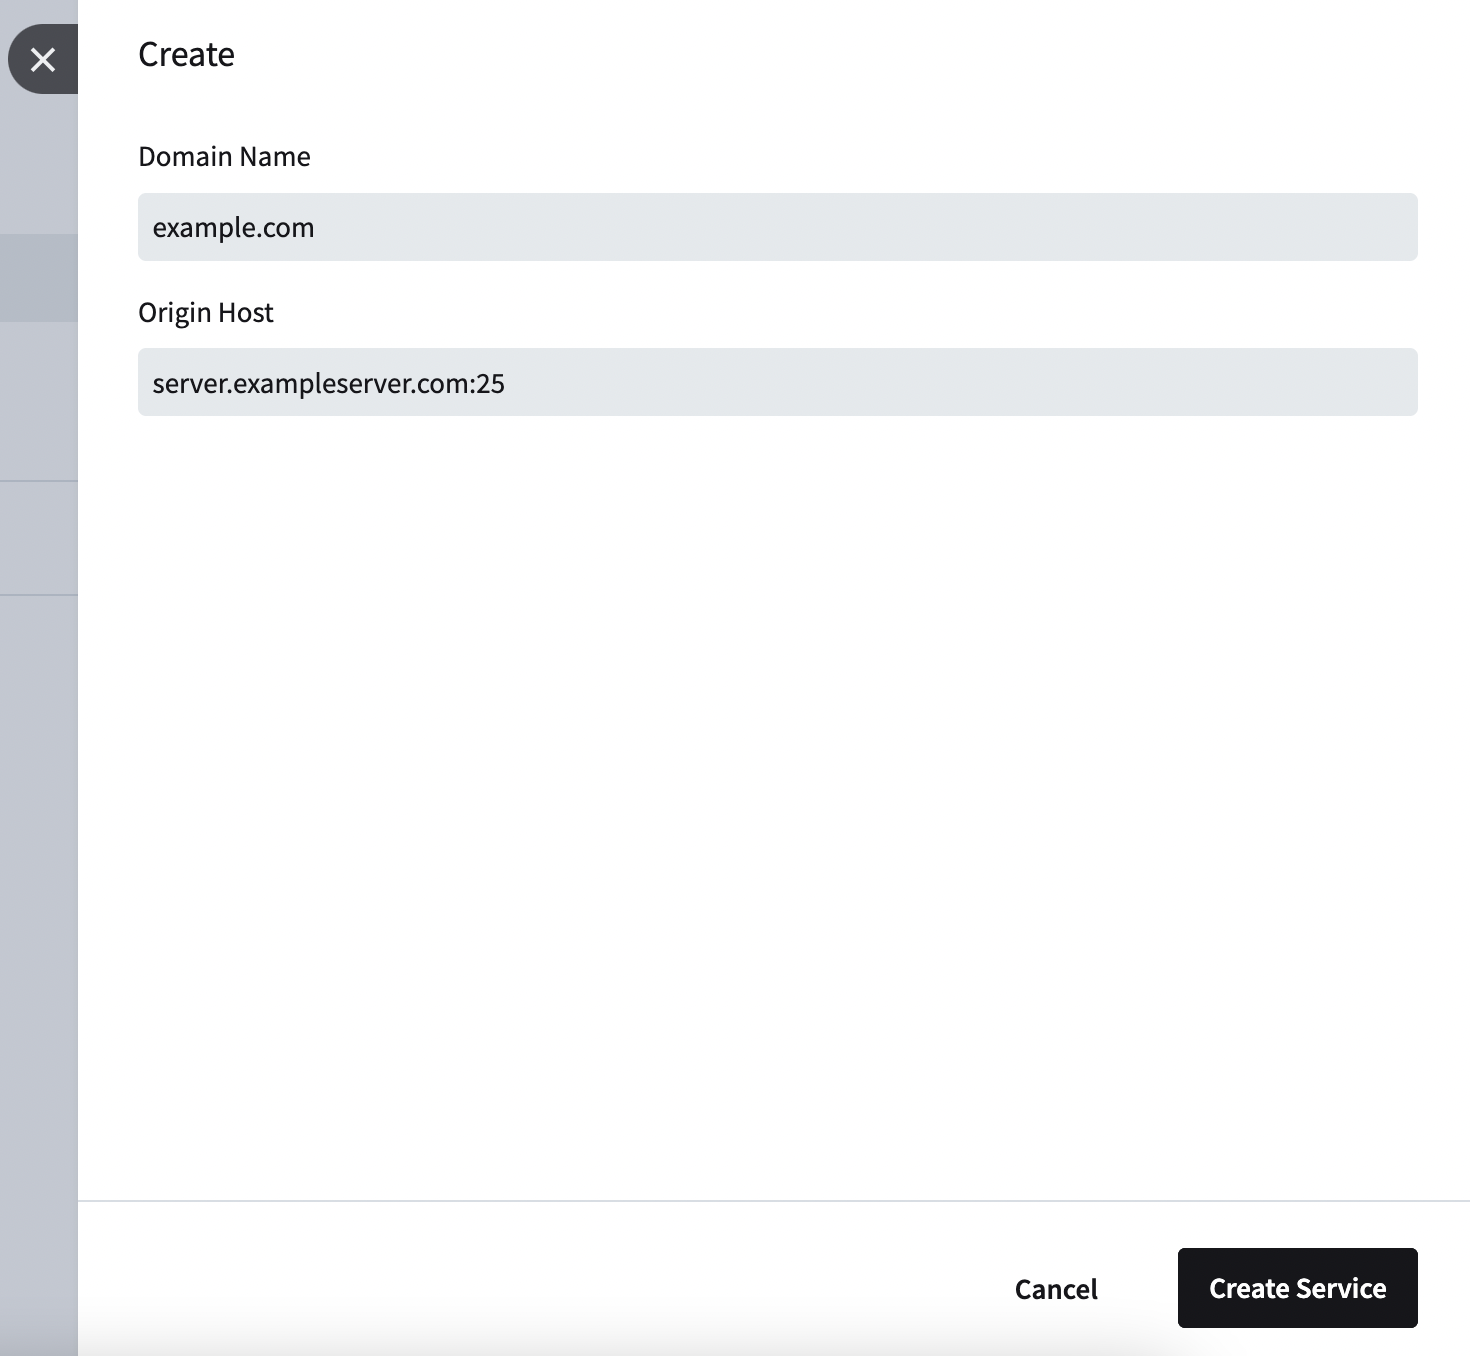 Option A: SMTP Server
- Enter your domain name and your destination server. The destination server will be the MX record and the port at the end. Usually this will be 25 or 587.
- Enter your domain name and your webhook URL. Emails will be delivered to your webhook endpoint via HTTP POST requests.
- Click Create Service
3. Update MX Records
To route emails through our filter:- Log in to your DNS provider’s control panel.
- Locate your domain’s MX records.
- Update the MX record to point to our inbound filtering server:
| Priority | MX Record | TTL |
|---|---|---|
| 0 | smtp.jetsmtp.net | 14400 |
- Save your DNS changes (may take up to 48 hours to propagate).