Getting Started with Transactional Email
Follow these steps to set up and start using our Transactional Email API:1. Add Your Domain
First, you need to add and verify your domain:- Log in to our Dashboard (https://dash.jetemail.com)
- Navigate to the “Outbound” section
- Click on “Domains”
- Click Add and enter your domain name.
2. Authenticate Your Domain
After adding your domain, you’ll need to set up authentication using SPF, DKIM, and DMARC records:- In your domain settings, you’ll find the generated SPF, DKIM, and DMARC records
- Add these records to your domain’s DNS settings:
- SPF (Sender Policy Framework)
- DKIM (DomainKeys Identified Mail)
- DMARC (Domain-based Message Authentication, Reporting, and Conformance)
- Wait for the records to propagate (this can take up to 24 hours)
- Once propagated, the records will show up as verified.
3. Create a Transactional API Key
To use our API, you’ll need to generate an API key:- Go to the “Keys” section under Outbound.
- Click on “Add API Key”
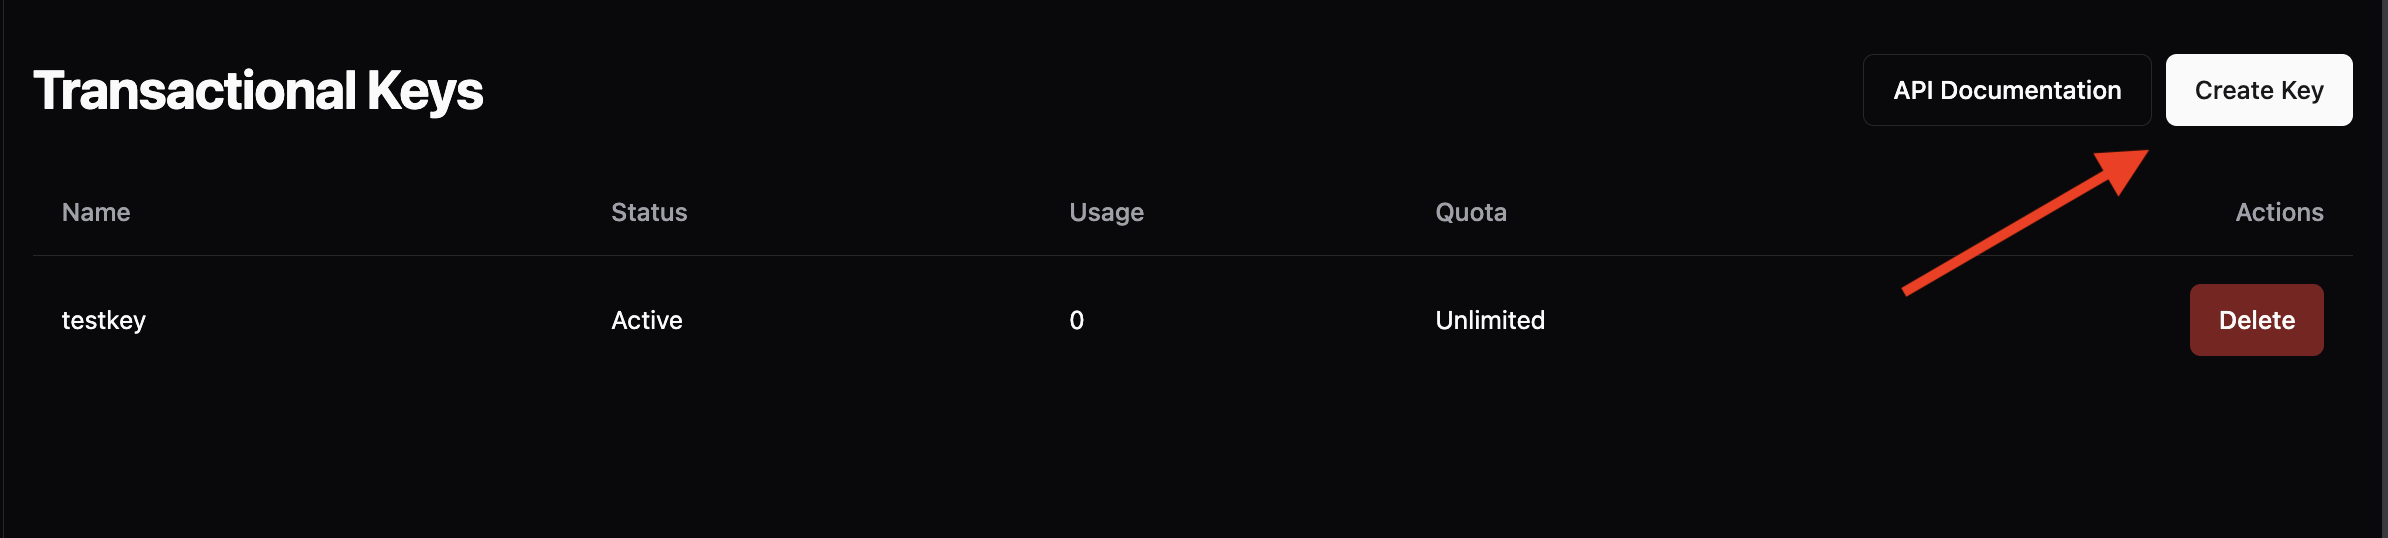
- Name your key (e.g., “Transactional Email Key”)
- Copy and securely store the generated API key.