Getting Started with JetEmail SMTP Service
Follow these steps to set up and start using our SMTP service. Add your sending domain first, then create SMTP credentials and configure your mail server.1. Add your sending domain
Each address you send from must belong to a domain JetEmail can authenticate.- Log in to the JetEmail dashboard at https://dash.jetemail.com
- Go to Outbound → Domains. You’ll land on the Domains overview—add a domain and track DNS verification from here:
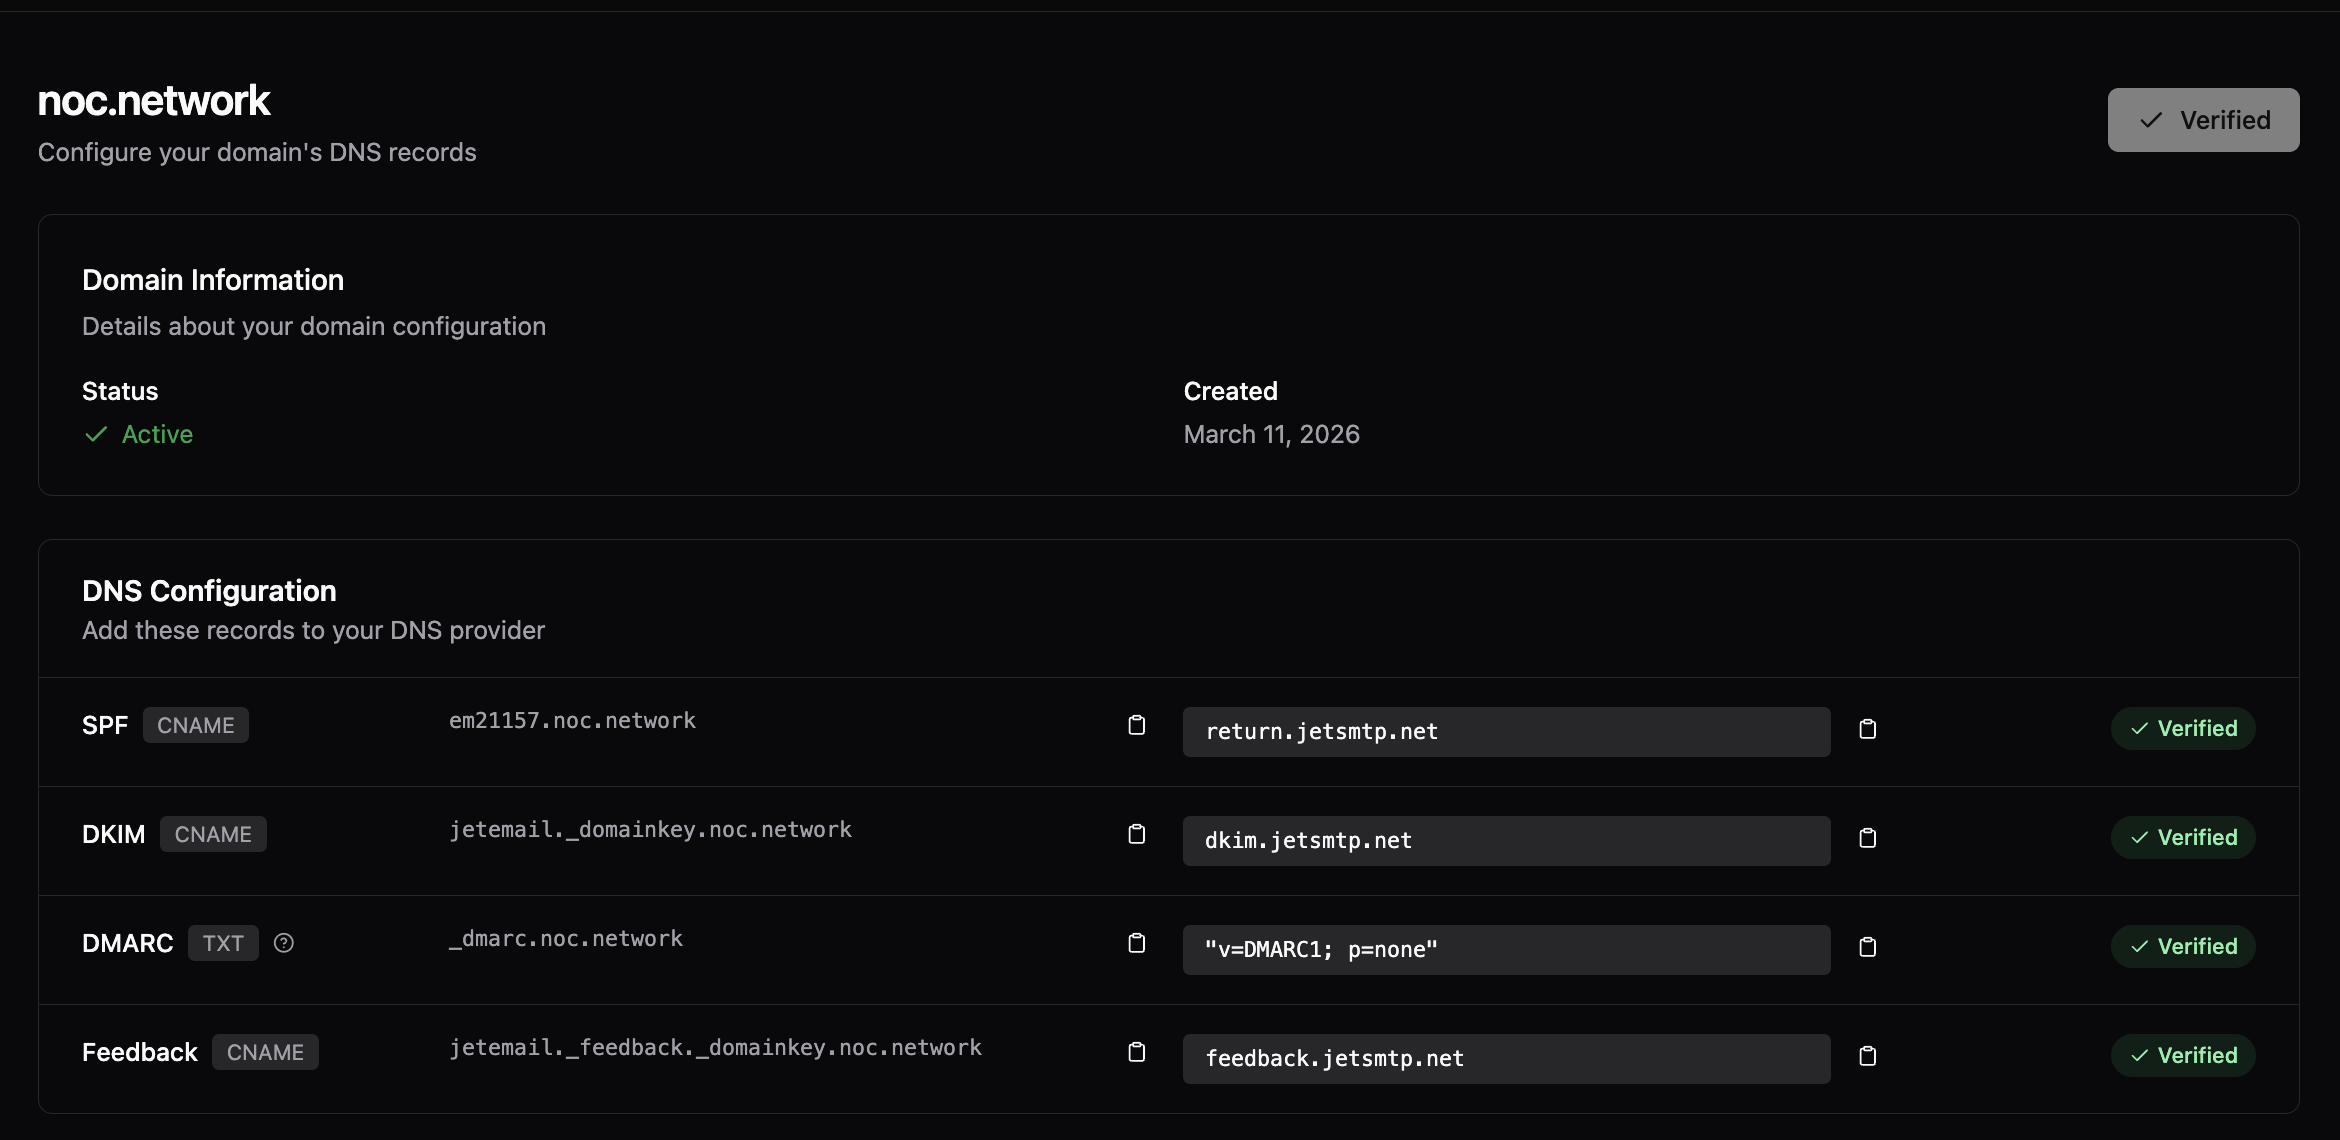
- Add the domain you send mail from (e.g.
example.com) - Add every DNS record the dashboard lists for that domain (SPF, return-path, DKIM, DMARC, feedback, etc.) at your DNS provider
- Wait until the dashboard shows the domain as verified
Domain validation
A domain counts as validated after you add it under Outbound → Domains and JetEmail verifies your DNS. Validated domains are required for open tracking, click tracking, BCC copies, and similar features that depend on dashboard-managed authentication.2. Create an SMTP User
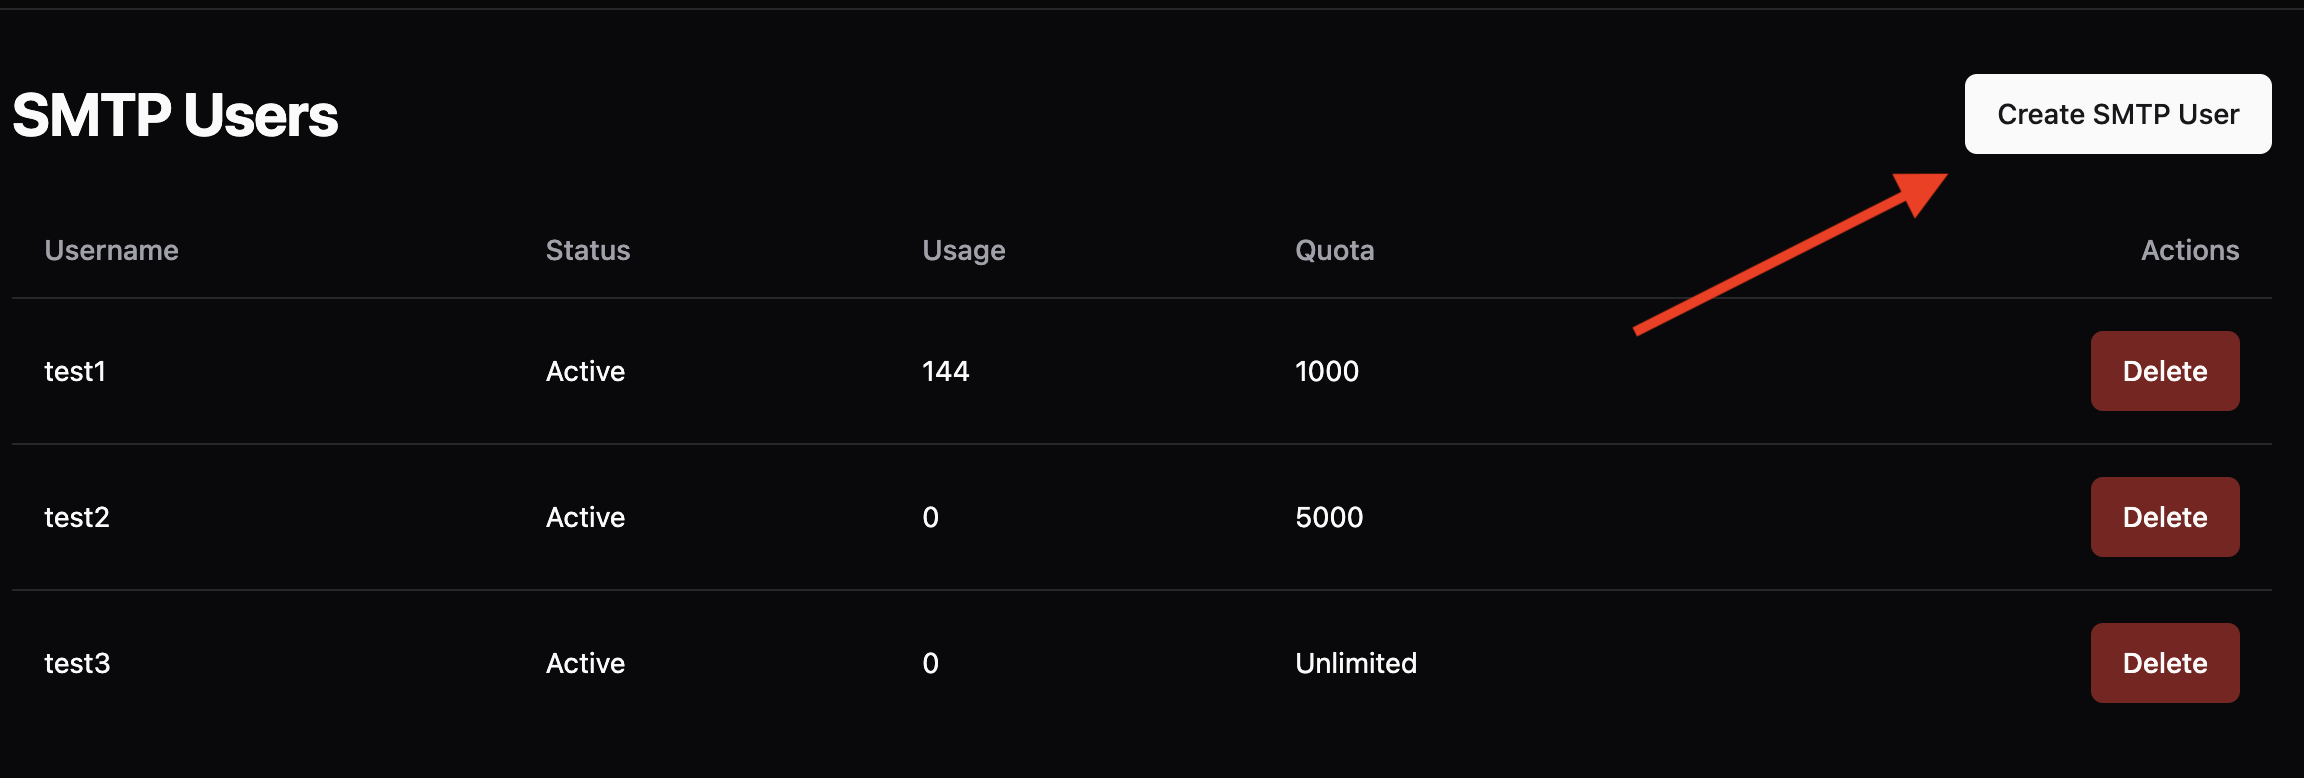
- In the dashboard, go to Outbound → SMTP
- Click Create SMTP
- Fill in the required details:
- Username: Choose a unique username
- Password: Set a strong password
- Description: Optional reference label
- Quota / Usage:
0for unlimited, or a limit on how many messages this user can send

3. Configure Your Mail Server
Use these values in your mail server or application:| Setting | Value |
|---|---|
| Server | relay.jetsmtp.net |
| Ports | 25, 587, 2525 — STARTTLS · 465 — SSL/TLS |
| Authentication | PLAIN |
| TLS | Required on 25, 587, and 2525 (STARTTLS). Implicit on 465 (SSL/TLS). |
| Username / password | The SMTP user you created in step 2 |
relay-eu.jetsmtp.net instead. This endpoint uses the same settings as above but is limited to the EU region only. The global endpoint (relay.jetsmtp.net) is our recommended anycast endpoint that provides optimal routing worldwide.