Skip to main contentGetting Started with Inbound Email Filtering
To set up your inbound email filter, follow these steps:
1. Navigate to Blocklist
- Log in to your account dashboard.
- Navigate to the “Inbound” section.
- Click on your domain.
- Click on “Blocklist”.
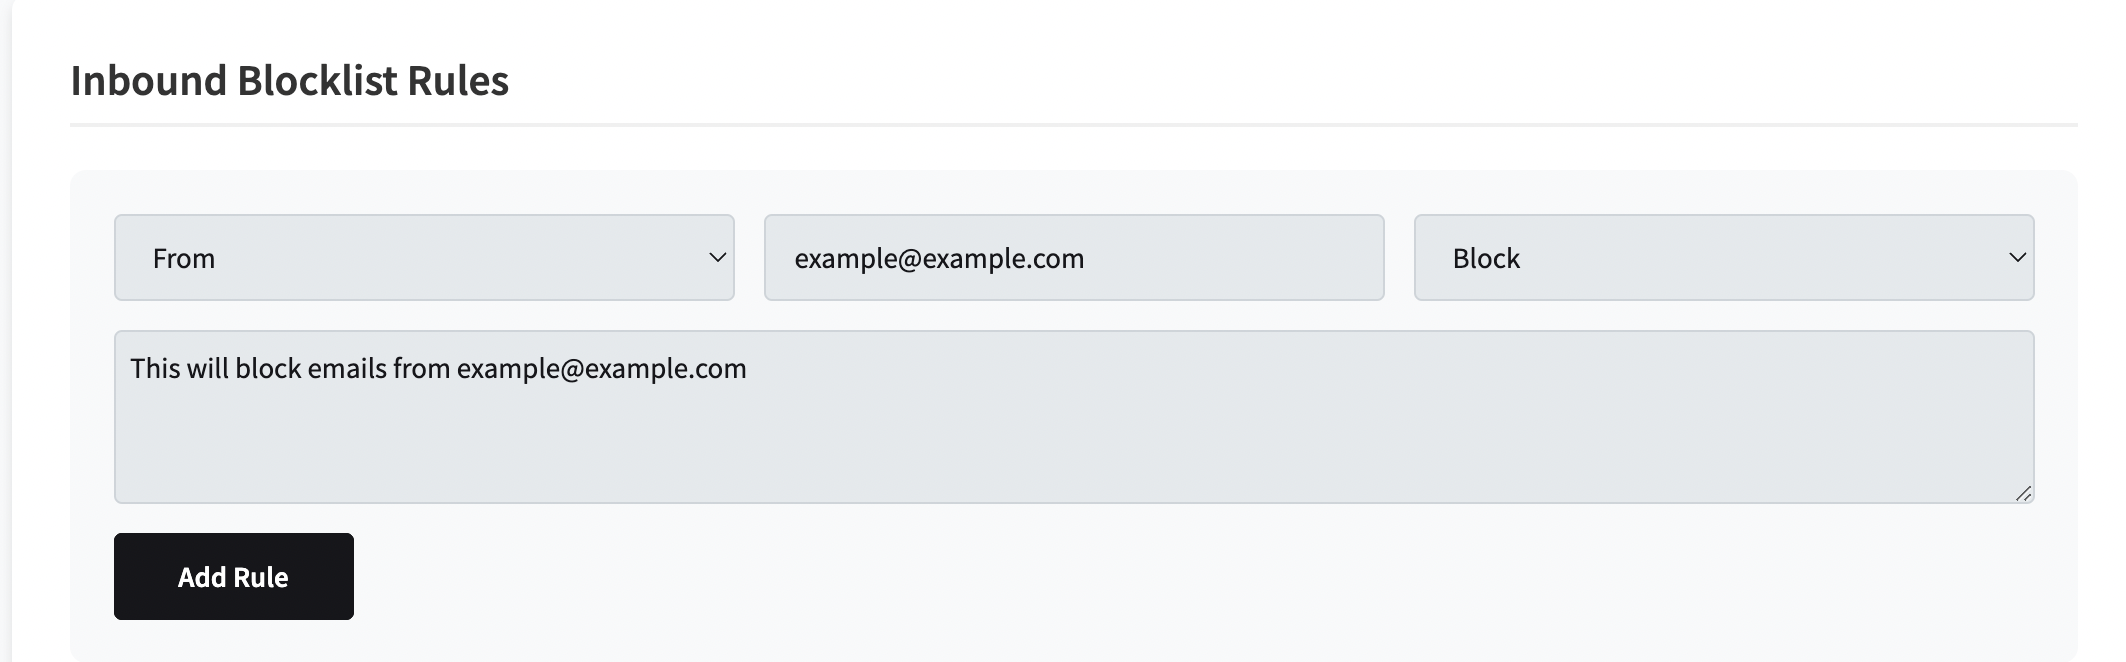
2. Create Blocklist Rule
- Select the type of blocklist rule you want to create, you can create blocklists rules depending on what you wish to block. You can block by:
- From address
- To address
- IP address of mail server (This will be the IP address that connects to our server)
- Subject
- Body of the email (this uses a regular expression to match the body of the email).
-
Enter the value you wish to block by for example, if you wanted to block [email protected], you’d enter this in the value section.
-
Select action.
You can block the email or you can send it to quarantine which you can then view and manage yourself if you wish to receive the email.
- Set a note
Set a note to help identify the rule later on, this is not a required field.
Rule Limits
There is a default limit of 250 blocklist rules per domain. If you need to create more rules, please contact our support team to request an increase to this limit.