Set Email Destination
The email destination is the mail server where filtered emails are delivered after they have been processed by our inbound email filtering service. This is the final destination where your emails will be received.Steps to Set Your Email Destination
- Log in to your account dashboard Access your account on our platform.
-
Navigate to Inbound Settings
- Go to the “Inbound” section.
- Click on your domain.
- Click on “Settings”.
- Click on “Set Destination”.
-
Configure the Destination Server
- Enter your destination mail server address (e.g.,
mail.example.comor an IP address). - Enter the port number (usually
25or587). - The format should be:
server.example.com:25or192.168.1.1:587
- Enter your destination mail server address (e.g.,
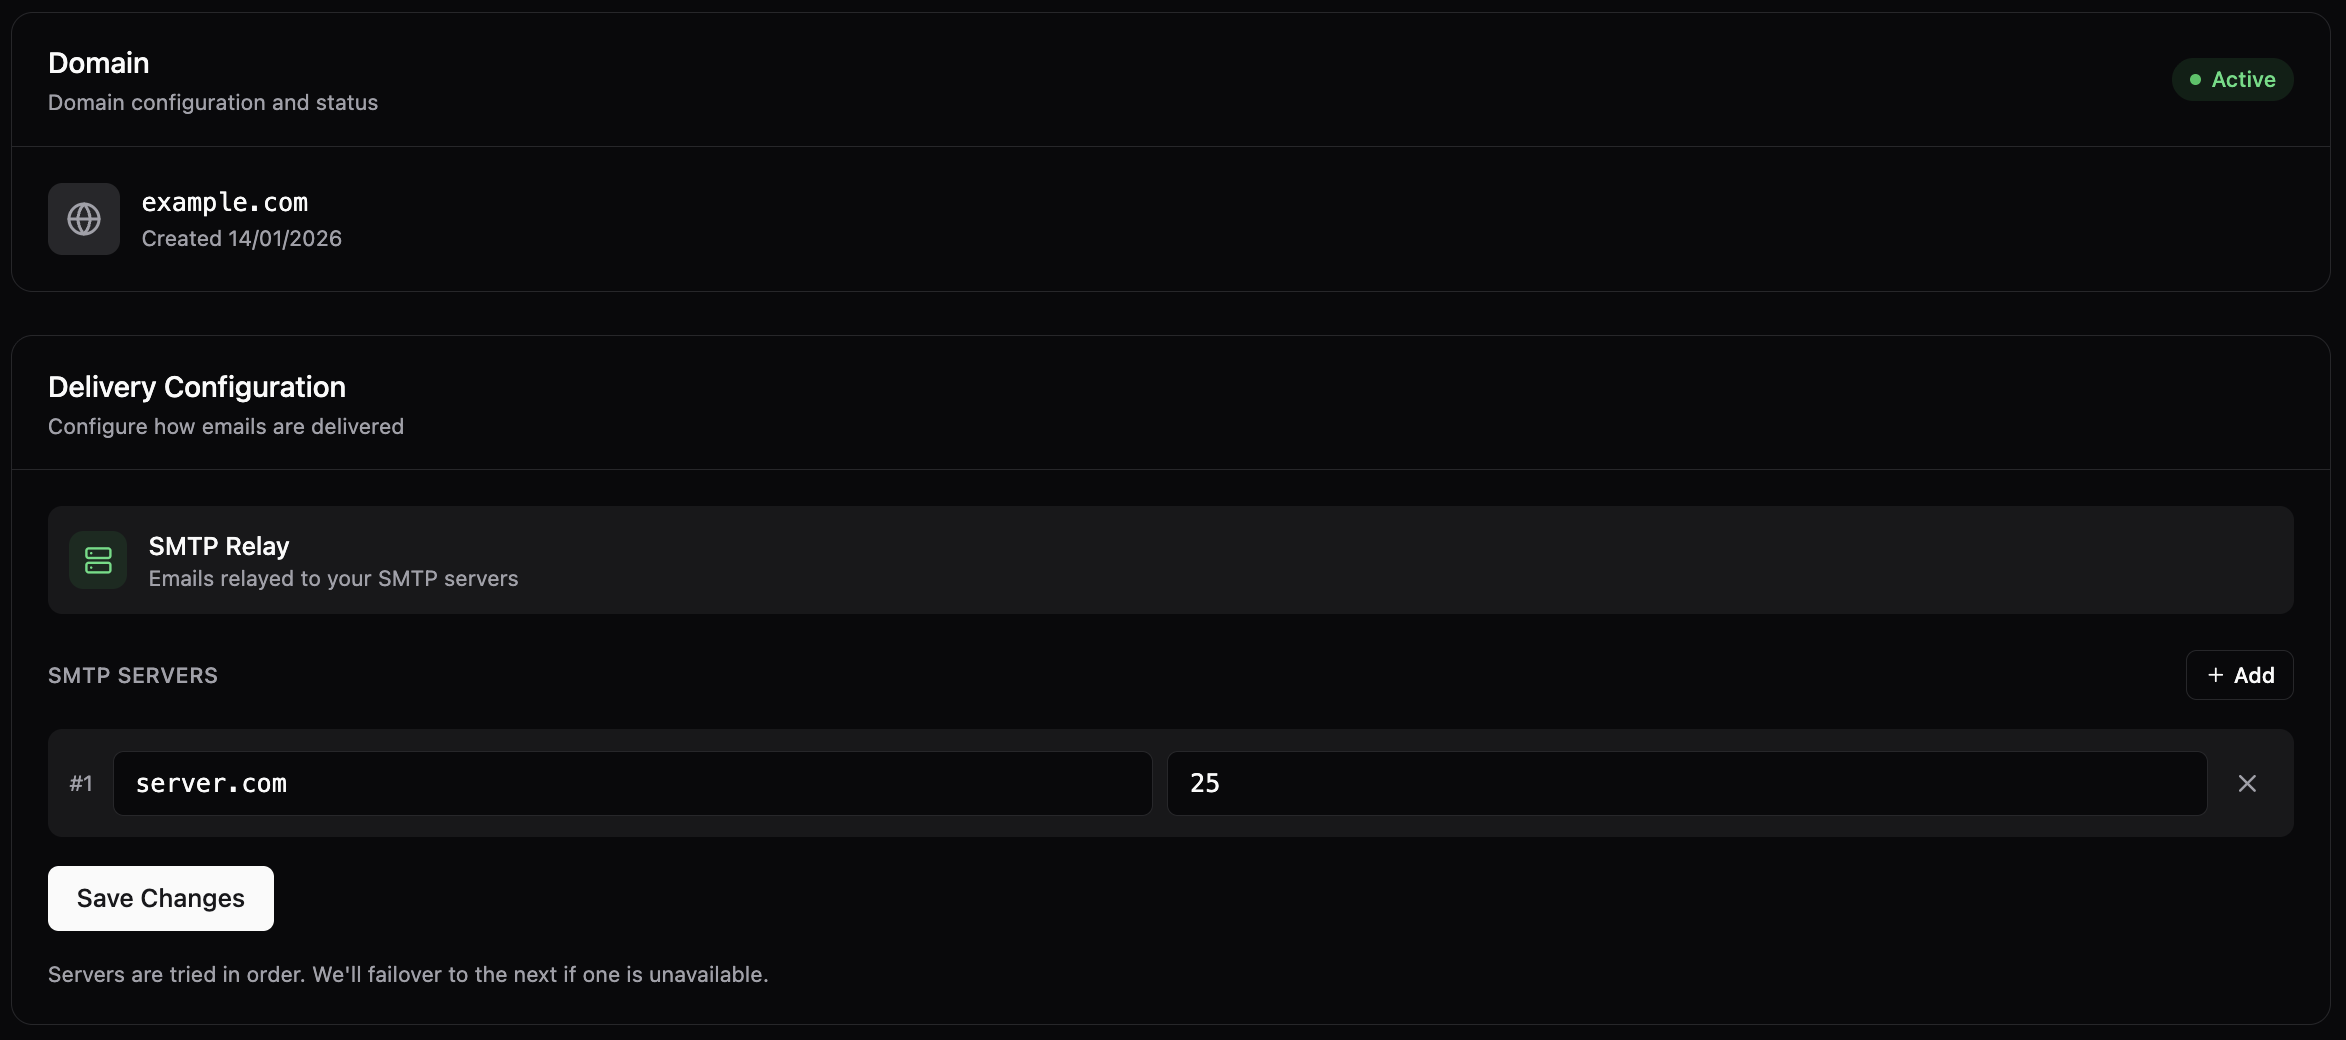
- Save the Configuration
- Click “Save” or “Update” to apply your changes.
- The destination will be used for all filtered emails going forward.
Important Notes
- The destination server must be accessible and properly configured to receive emails.
- Ensure the port you specify is open and not blocked by firewalls.
- After filtering, emails will be delivered to this destination server via SMTP.
- You can update the destination at any time from the Settings section.